
Making modern urban bases is simple, and that might be why it is hard to find them in resin or as 3d files. Most of what is available out there is for specific sub settings (like industrial), slightly past or future looks, or in rubble for war zones. However, if you want clean, “normal” bases, where civilians could take a stroll, you are mostly on your own.
I needed bases like that for my Pulp City civilians when I painted them some years ago, and developed a simple technique to make them. With my recent indie villains requiring similar bases, I decided to make a quick tutorial at the same time, in case others might find it interesting. It’s nothing revolutionary, and I am sure you could find other similar tutorial online, but it’s always good to have options. Here we go!
How to make urban asphalt base
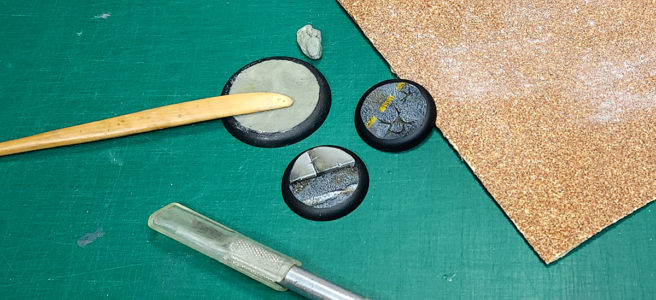
Tools:
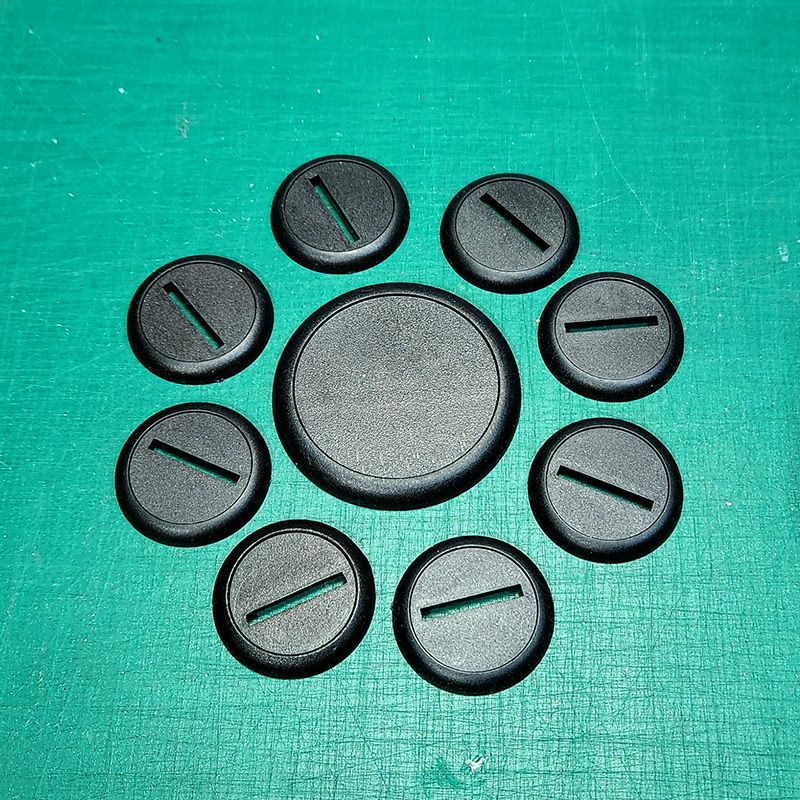
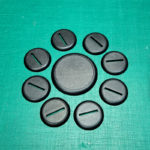 Plain bases (I’m using round lipped for this tutorial, but the same technique would work with bevelled or straigh edge bases.
- Masking tape (optional, see step 1)
- Putty (you can use green stuff, or any kind of self drying putty or clay. I’m using Apoxie Sculpt.)
- Putty tool
- A small piece of sandpaper (I’m using 80 and 100 grit)
Steps
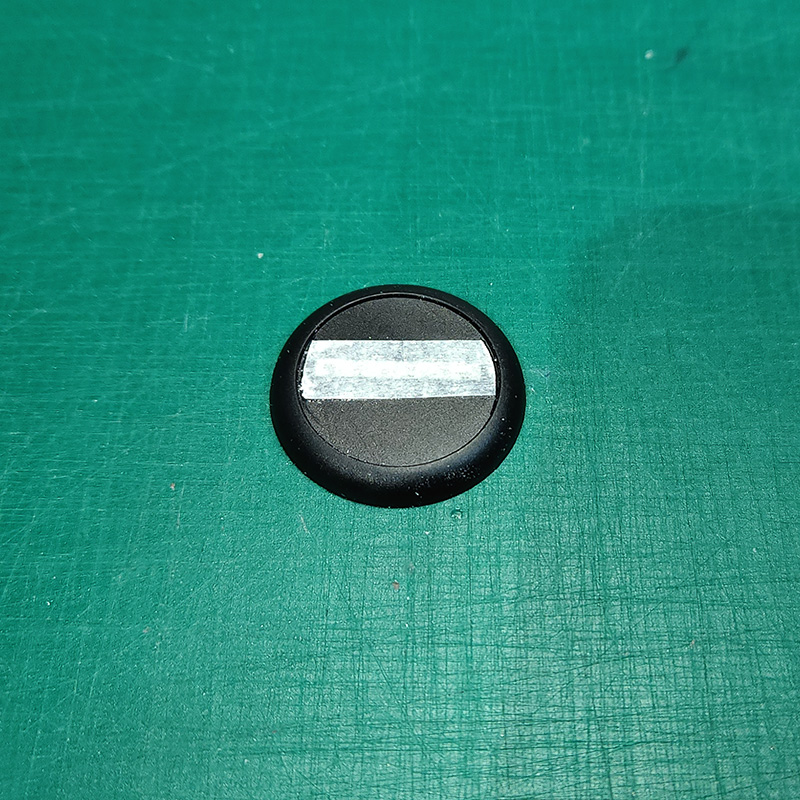
 If your base has a slot for a tab, or peg holes, you want to close those. I’m using masking tape, but you could also use putty. You want a solid surface to work on. If your bases are full, you can skip this step.
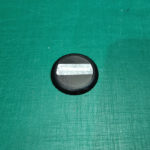
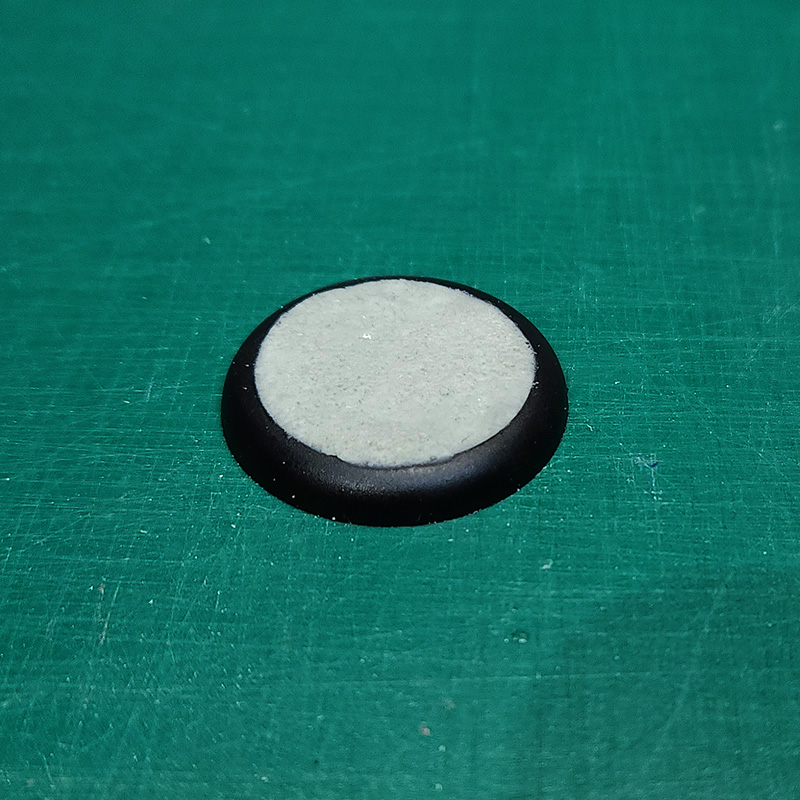
(Note: It is not imperative to fill the holes. See in the variants.)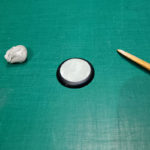 Using a sculpting tool, you apply a thin layer of putty on the base. You want something even and smooth. Using your sculpting tool, don’t forget to clean the extra putty on the side of the base.
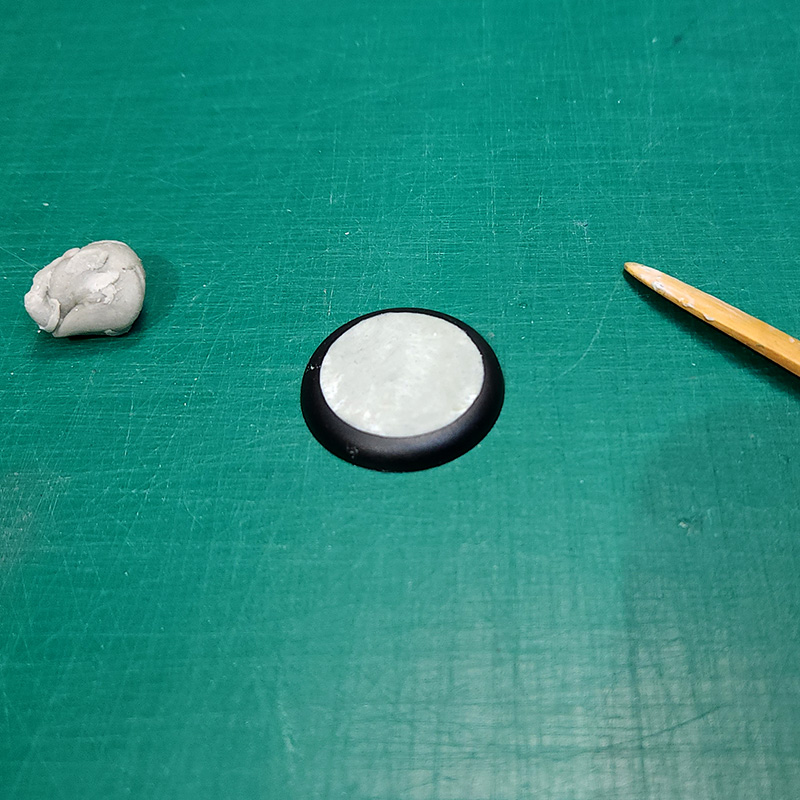
 Put some water on the putty, and then press sandpaper on it. The water will prevent the putty from sticking to the sand paper.
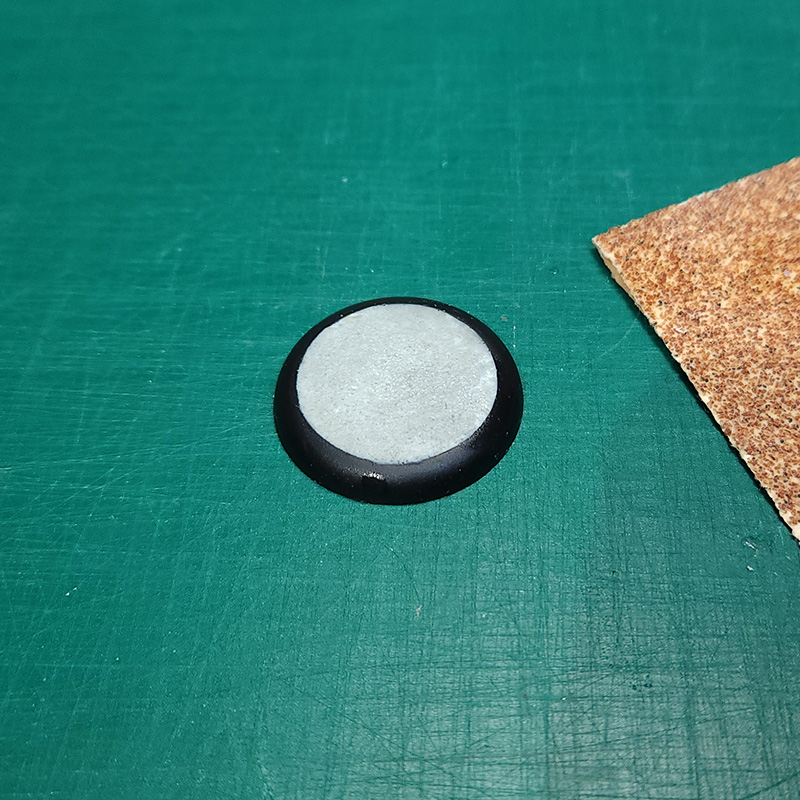
That’s it!
You could stop there if you want to keep it simple, and just let it dry. It gives you a clean asphalt base that works for most modern or even sci-fi settings.
However, if you want a bit more details, you can add some cracks using a hobby knife or a sculpting tool. It’s easier to do now before it cures, but you could come back to it later too. You can also add some piles of dirt, using some white glue and fine sand. Looking at the roads around here in Quebec, those steps seems mandatory. 😉
Pimp that base!
That simple base does the job, but you might want to pimp it a bit more than just plain asphalt. Here are some more options for you!
Sidewalks
If you want to add some height to your base, you can add some sidewalks before putting the asphalt. To do so, you cut some thick plastic pieces, some cardboard, or multiple layers of plasticard, in a partial circle shape to fill a segment of your base. You can add some lines on top with a knife or a file, if you want a less unified look. Once your sidewalk is glued on the base, you can follow the previous steps, but only applying the putty on the surface of the base left clean.
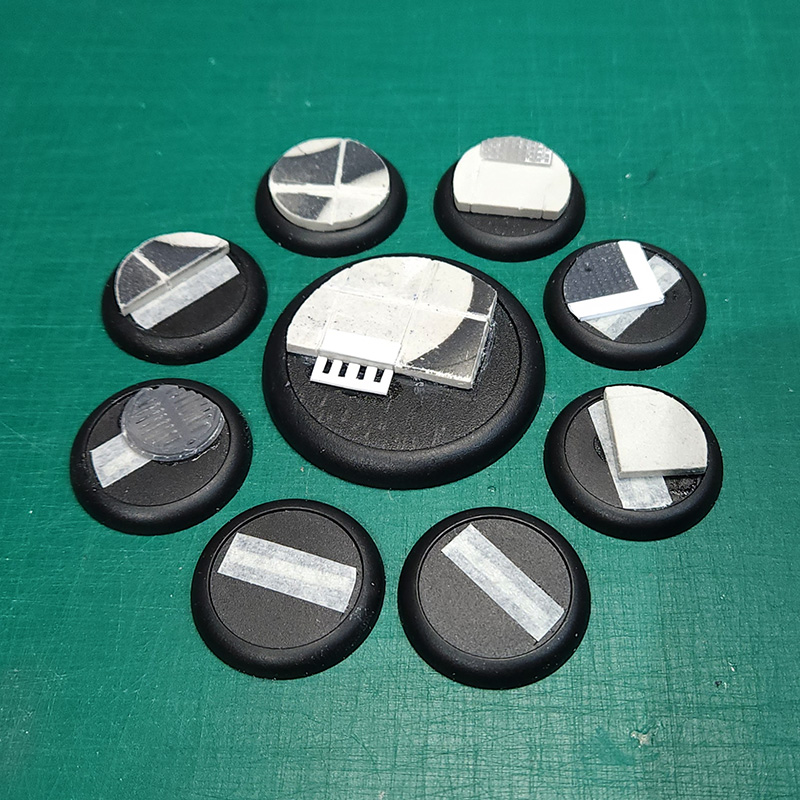
Floor-level accessories
To had further variation, using similar steps to the sidewalks, you can glue other types of elements on the base before adding the asphalt. I’m using some 3d printed manholes and grates in my examples, as well as a plasticard storm drain.

Further decorations
If you want you bases to pop even more, you could add various elements of scenery, litter and trash. You can make your own, using plasticard, putty or paper (great for discarded newspapers), but some companies also produce some nice resin and metal urban bits that work perfectly for that. You can also find trash cans and water hydrants in the same materials, as well as 3d files for printing. See here for some strips of bits by Black Cat Bases, or here for a whole pack of urban bits by Black Site Studio.
Slotta bases
This is less pimping than an alternate step 1. If you have slotta bases, and don’t want to bother with painting your models separately, you can skip step 1. After step 3, when you would call it done, you can remove the excess putty from the slot with your sculpting tool or a hobby knife, and stick your model right in with a dab of glue. The putty will even help the bond.
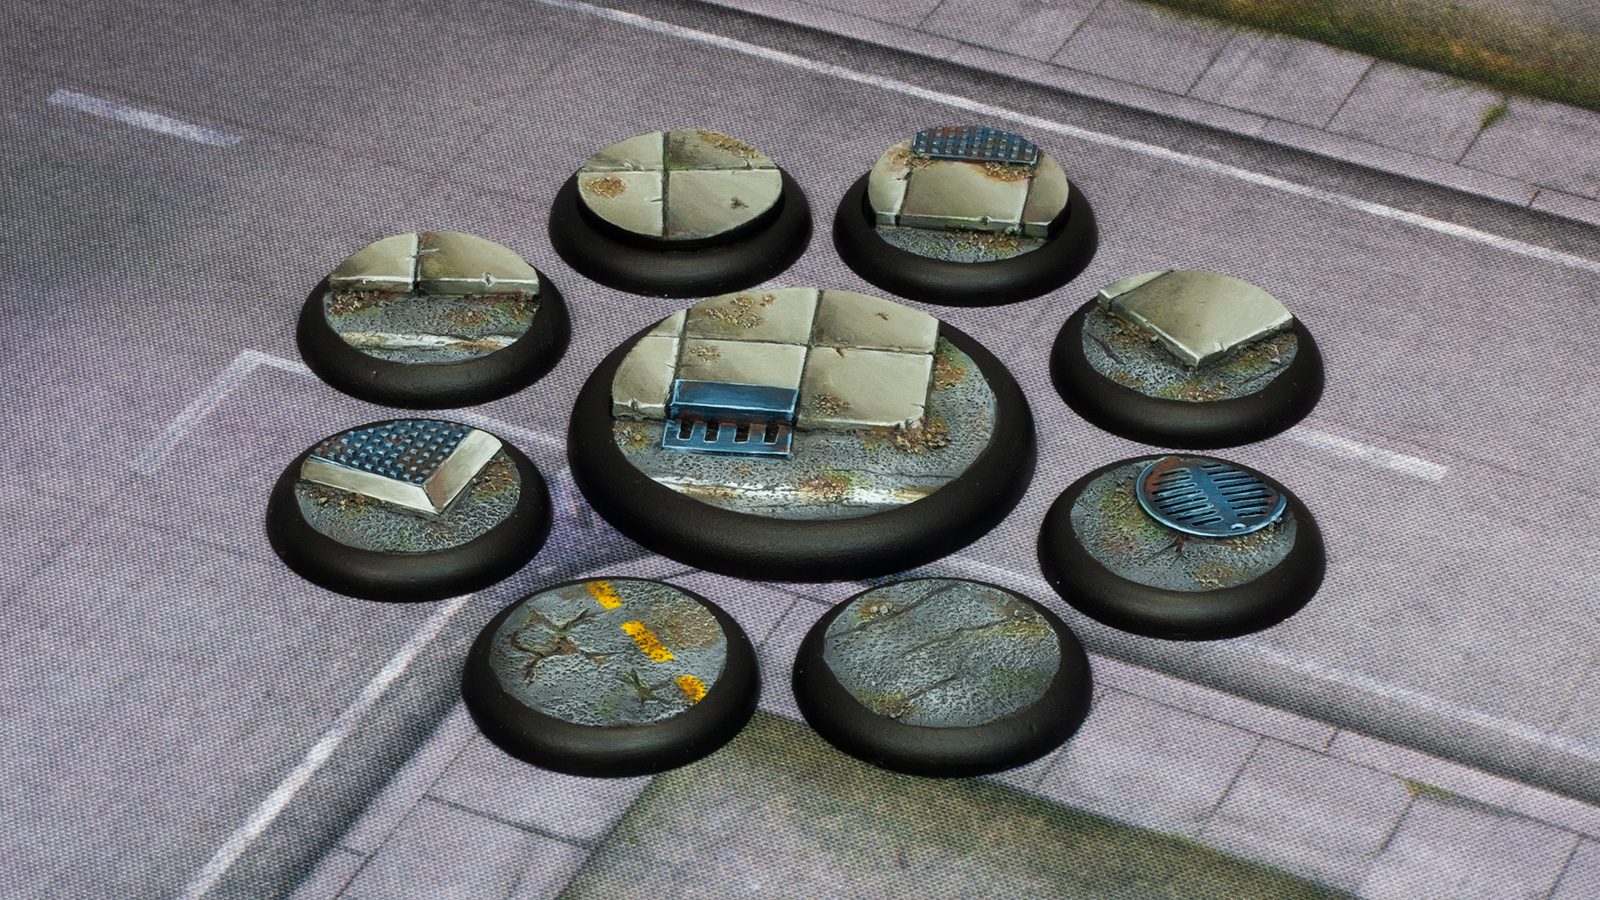
Final results
To close this tutorial, here is a picture of the finished bases, painted, made using the asphalt method as well as the sidewalk and other add-ons explained before
Please share your pictures if you find this tutorial useful.