I’m working right now on a commision piece, Lylyth, Reckoning of Everblight by Privateer Press. The client wanted a thematic base representing a frozen lake breaking under the weight of her sleigh. I must confess to you all, it isn’t a genre of basing I had ever worked on previously. The is a huge base though, 120mm, which gives lots of space to create the effect.
By luck, I had seen earlier a similar base (without the broken ice though), which was made using water effect for the ice. I liked the idea, but I remembered that I still had plexiglas left from the window made for the Space Station Yaumato that could be used as ice too, and add the opportunity to have solid ice shards. I wanted to add some volume to the base, so I chose to represent a lake shore instead of only the frozen surface. After some brainstorming, I made a small 40mm test base and I had a plan to start the big one.
Even if the model itself isn’t done, the base is, so here are the steps I followed during building. Keep in mind that it is a first attempt to recreate this effect, and other materials and techniques could lend similar or even better results.
Building
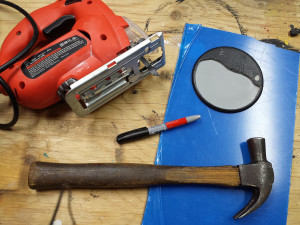
First, the materials required: a plastic base, some plasticard, some plexiglas (with plastic sheet coatings), resin or other water effect and finally, some snow flock. On the tool side, you’ll need something to remove the base middle (an x-acto), to cut the plexiglas (I used a small jigsaw) and to break it (an hammer).
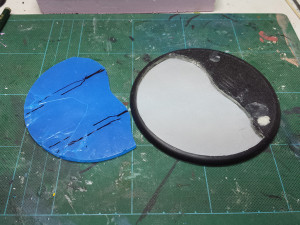
The first thing you need to do is to “empty” the base, by cutting out the surface you want the ice to be in. (You can also buy some resin hollow bases made exactly for that purpose.) You then trace the pattern on your plexiglas sheet, and cut it. Next, you glue what’s left of the base to the plasticard, and trim the extra plasticard. Be sure to make the seal watertight, filling the space with putty if necessary, or else the resin will leak out when you’ll pour it in later.
If you make a partial base (like mine), you should fill the space under the uncut part with putty, as it will prevent the resin from going under it and reduce the amount you will need.
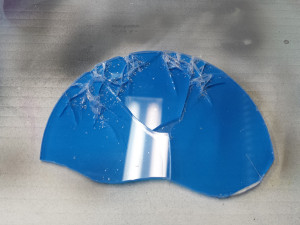
Now come the most fun part, hammer time! With small hits, you break the zone on the plexiglas where you want the ice to be broken. Don’t overdo it, or you won’t have any big ice sections left. The plastic sheet on the plexiglas comes in handy here, as it prevent the broken shards from flying in every directions. Once done, you can remove one side of the coating.
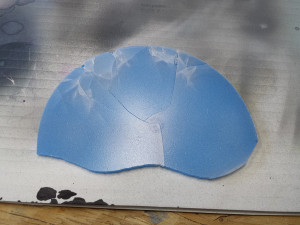
I didn’t want to have a fully clear ice surface, so I gave a first coat of paint on the plexiglas while it was still held in place by the plastic coating. To keep some transparency, I mixed some white paint, lot of clear varnish and airbrush medium. The goal was simply to have a haze on the surface, not to make it opaque. Doing it now instead of later also helps keep the paint to only the top of the plexiglas and not the sides of the shards, which will gives the idea of freshly broken ice.
You could easily skip this step if you want fully clear ice.
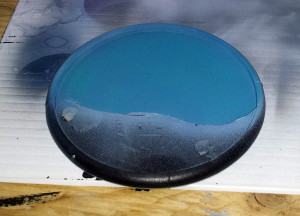
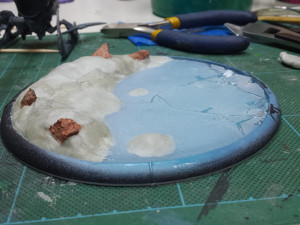
Next up, you paint the inside of the base with a nice blue tint. Mine was a little too light, but I was able to correct the effect by adding some darker blue ink to the water effect I used later.
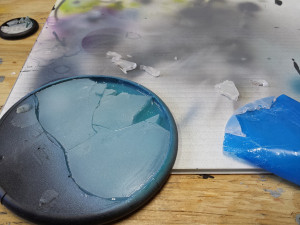
Now is time for the puzzle. Starting from the bigger pieces, you take the broken plexiglas off the plastic coating and test fit it in the base. When you are happy with the look, you transfer them neatly to the side and pour some water effect in the base, to act as a glue. I used water effect to make sure I would get it everywhere and keep the transparency effect.
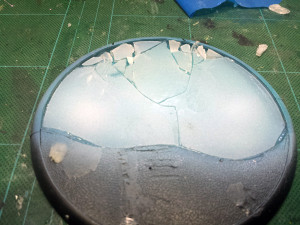
For the broken angled pieces, you cut them or file them before putting them in the resin. You don’t have to use all the plexiglas you broke, as leaving space between the broken sections will give it a nice look. You can then fill the space between the plexiglas pieces with water effect, to represent the water flowing up between the broken ice shards.
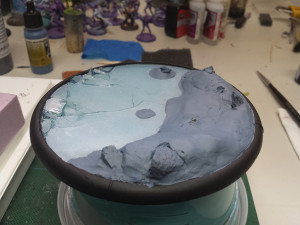
The ice is done, so you can now attack the rest of the base. I added some volume using rocks and epoxy putty, to represent the shore. You could use any kind of material for that, like sand or cork.
Next up, you can start painting that raised zone. I didn’t take pictures of every steps, but you want to make sure that the parts that will show off the snow are fully painted and shaded, while the parts that will be fully covered can only get a base coat of the ground colour.
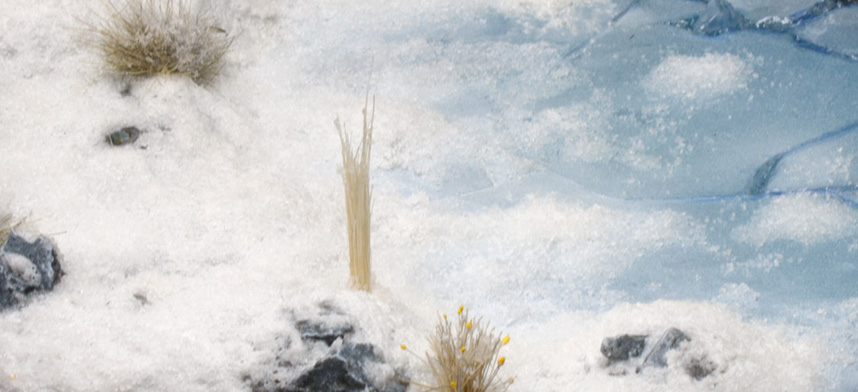
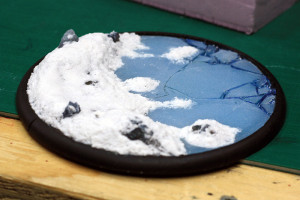
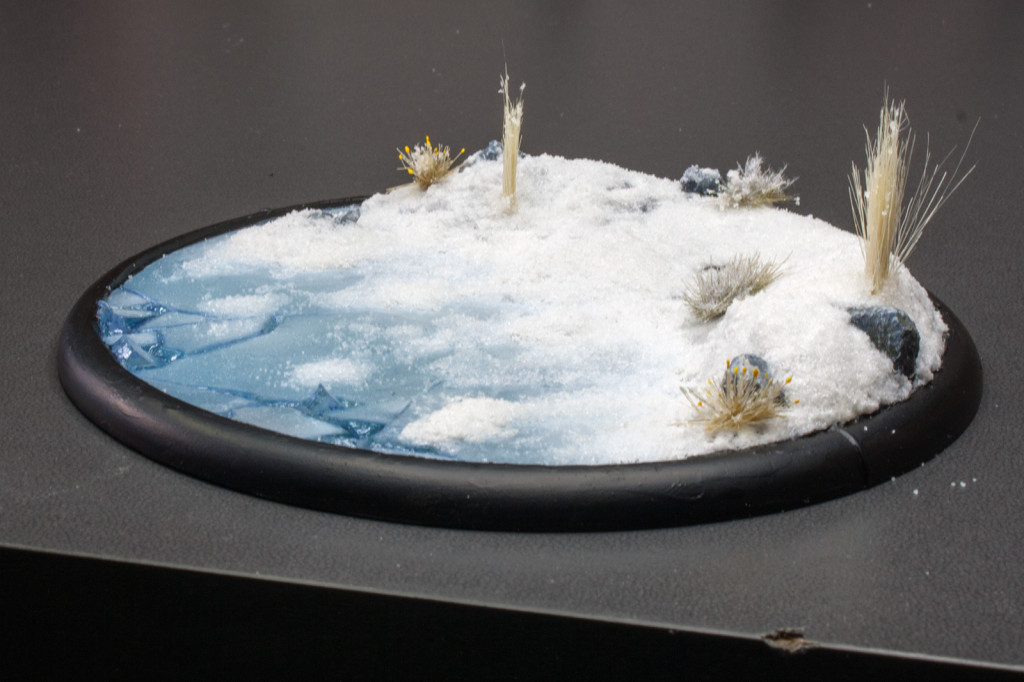
Once painting is done, you can apply the snow. For the first coat, I mixed snow flock, water effect and a bit of white paint, to get more opacity. The picture above was taken at that time.
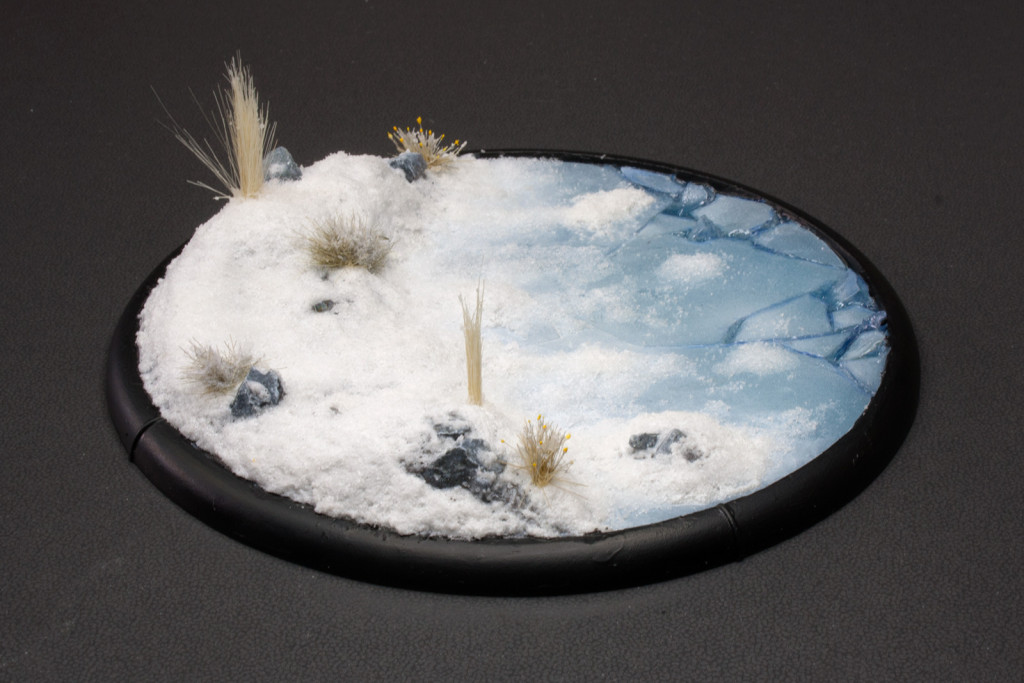
I glued the grass tufts at that stage, but it could have been glued before the first snow coat. I used different kinds of tufts to stay in line with the client other bases. You can then do the rest of the snow, using a similar mix but without the white paint in it, to keep some transparency. Apply it liberally on the base, even putting some on the grass tufts, and give the base a nice wind swept look.
Final result
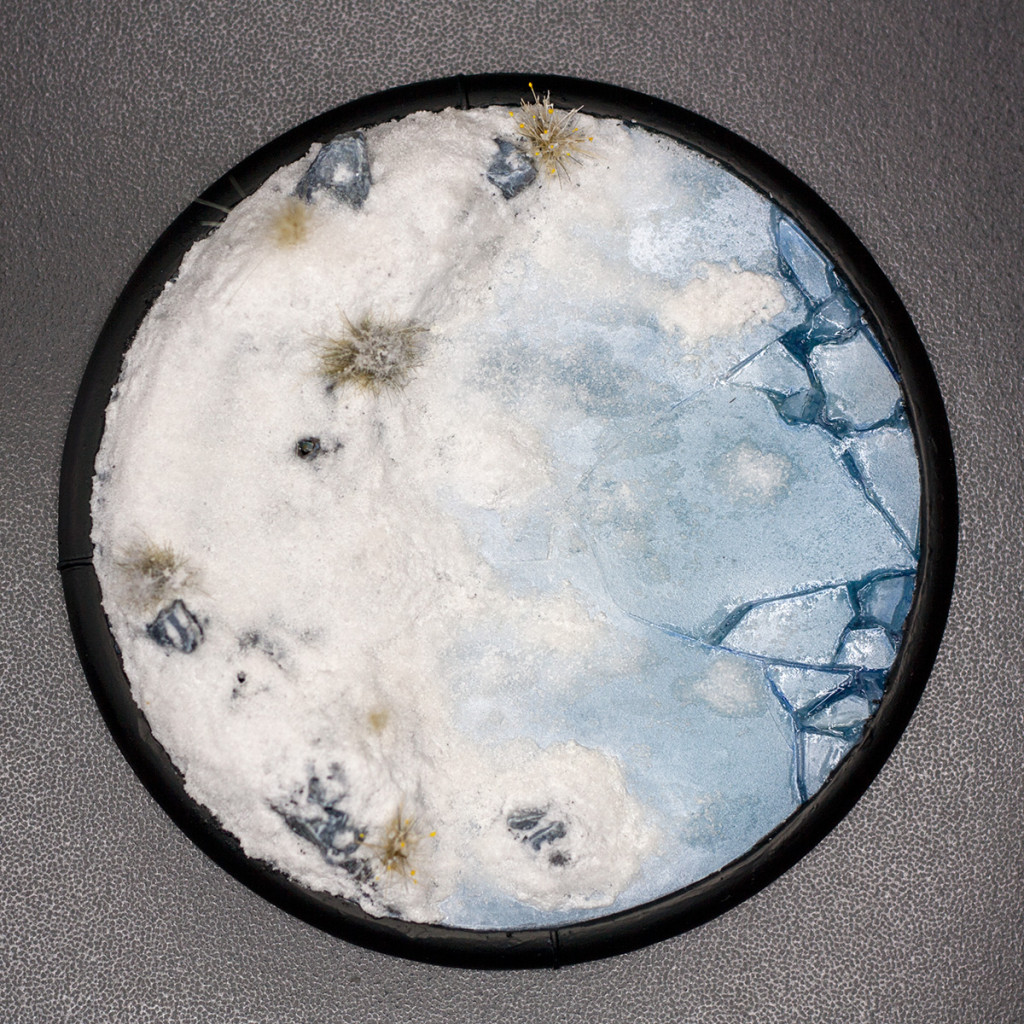
You can now see the completed base, fully painted and snow covered. It’s only missing the models that will go on it in a couple of weeks.
Edit: You can now see the base with the model on it in this post.

So this base is amazing! It is exactly the kind of thing I was looking to do for my 120mm based Everblight models. I followed your guide and my results are pretty good. Also the snow recipe you use worked very well.
The one thing is I had a really hard time breaking up the plastic sheeting. I think what I bought was too thin, and also the wrong kind (I got polycarbonate which I think is resistant to cracking). Do you remember what brand, and thickness you used for the plastic sheeting?
Please do share some pictures. 🙂
I sadly can’t say what kind of plexiglass I used. I was given a big sheet of it by a friend who had surplus from a museum exhibit. They use it to created stand for small pieces and stuff like that, if that can be of any help.
Here’s a few links to the one I made. I’m really happy with how the snow turned out, I used the recipe you gave, using water effects, white paint, and snow flock.
https://drive.google.com/open?id=0BwwKelGxR15pOTQ3Qk11VjR6UlU
https://drive.google.com/open?id=0BwwKelGxR15pOHZPMjhxdFVwLXc
https://drive.google.com/open?id=0BwwKelGxR15pZzdRMjdudDQwZmc
Nice work!
I’ve had pretty good luck with doing this from just whatever I’ve had lying around available, but if you’re trying to crack it with a hammer, definitely the thicker stuff works better. Like 3mm min even up to 5mm. You can also use things a little thinner, like an old plastic cd case, and if it’s really thin, like product packaging, a pair of heavy duty scissors should even be able to do the trick. You can also try using a pair of wire cutters to break off pieces, but don’t expect to really be able to get precise “cuts”, even with that method, you’re still kinda just up to the mercy of wherever it decides to break at.
That’s a good point! I use thick plexiglas, hence the hammer, but that’s what I had in hand. I do like the depth it provides. Thinner material is easier to procure though, and might be easier to work with too.
Awesome tutorial! Very inspirational. I am going to try and follow it for a high elf frostheart phoenix. Do you mind letting me know what product you used for the snow? I know there are tons of brands making different kinds of snow, but this one has a very realistic look. Cheers!
Thanks! I used Soft Flake Snow (SN140) by Woodland Scenics. Please share pictures once you are done. 🙂
Awesome! Thank you! And will do for sure, although I don’t think it will end up looking as real as yours hehe